Quickstart
Learn how to create your first changelog with Openchangelog, from signup to publication, in just a few minutes.
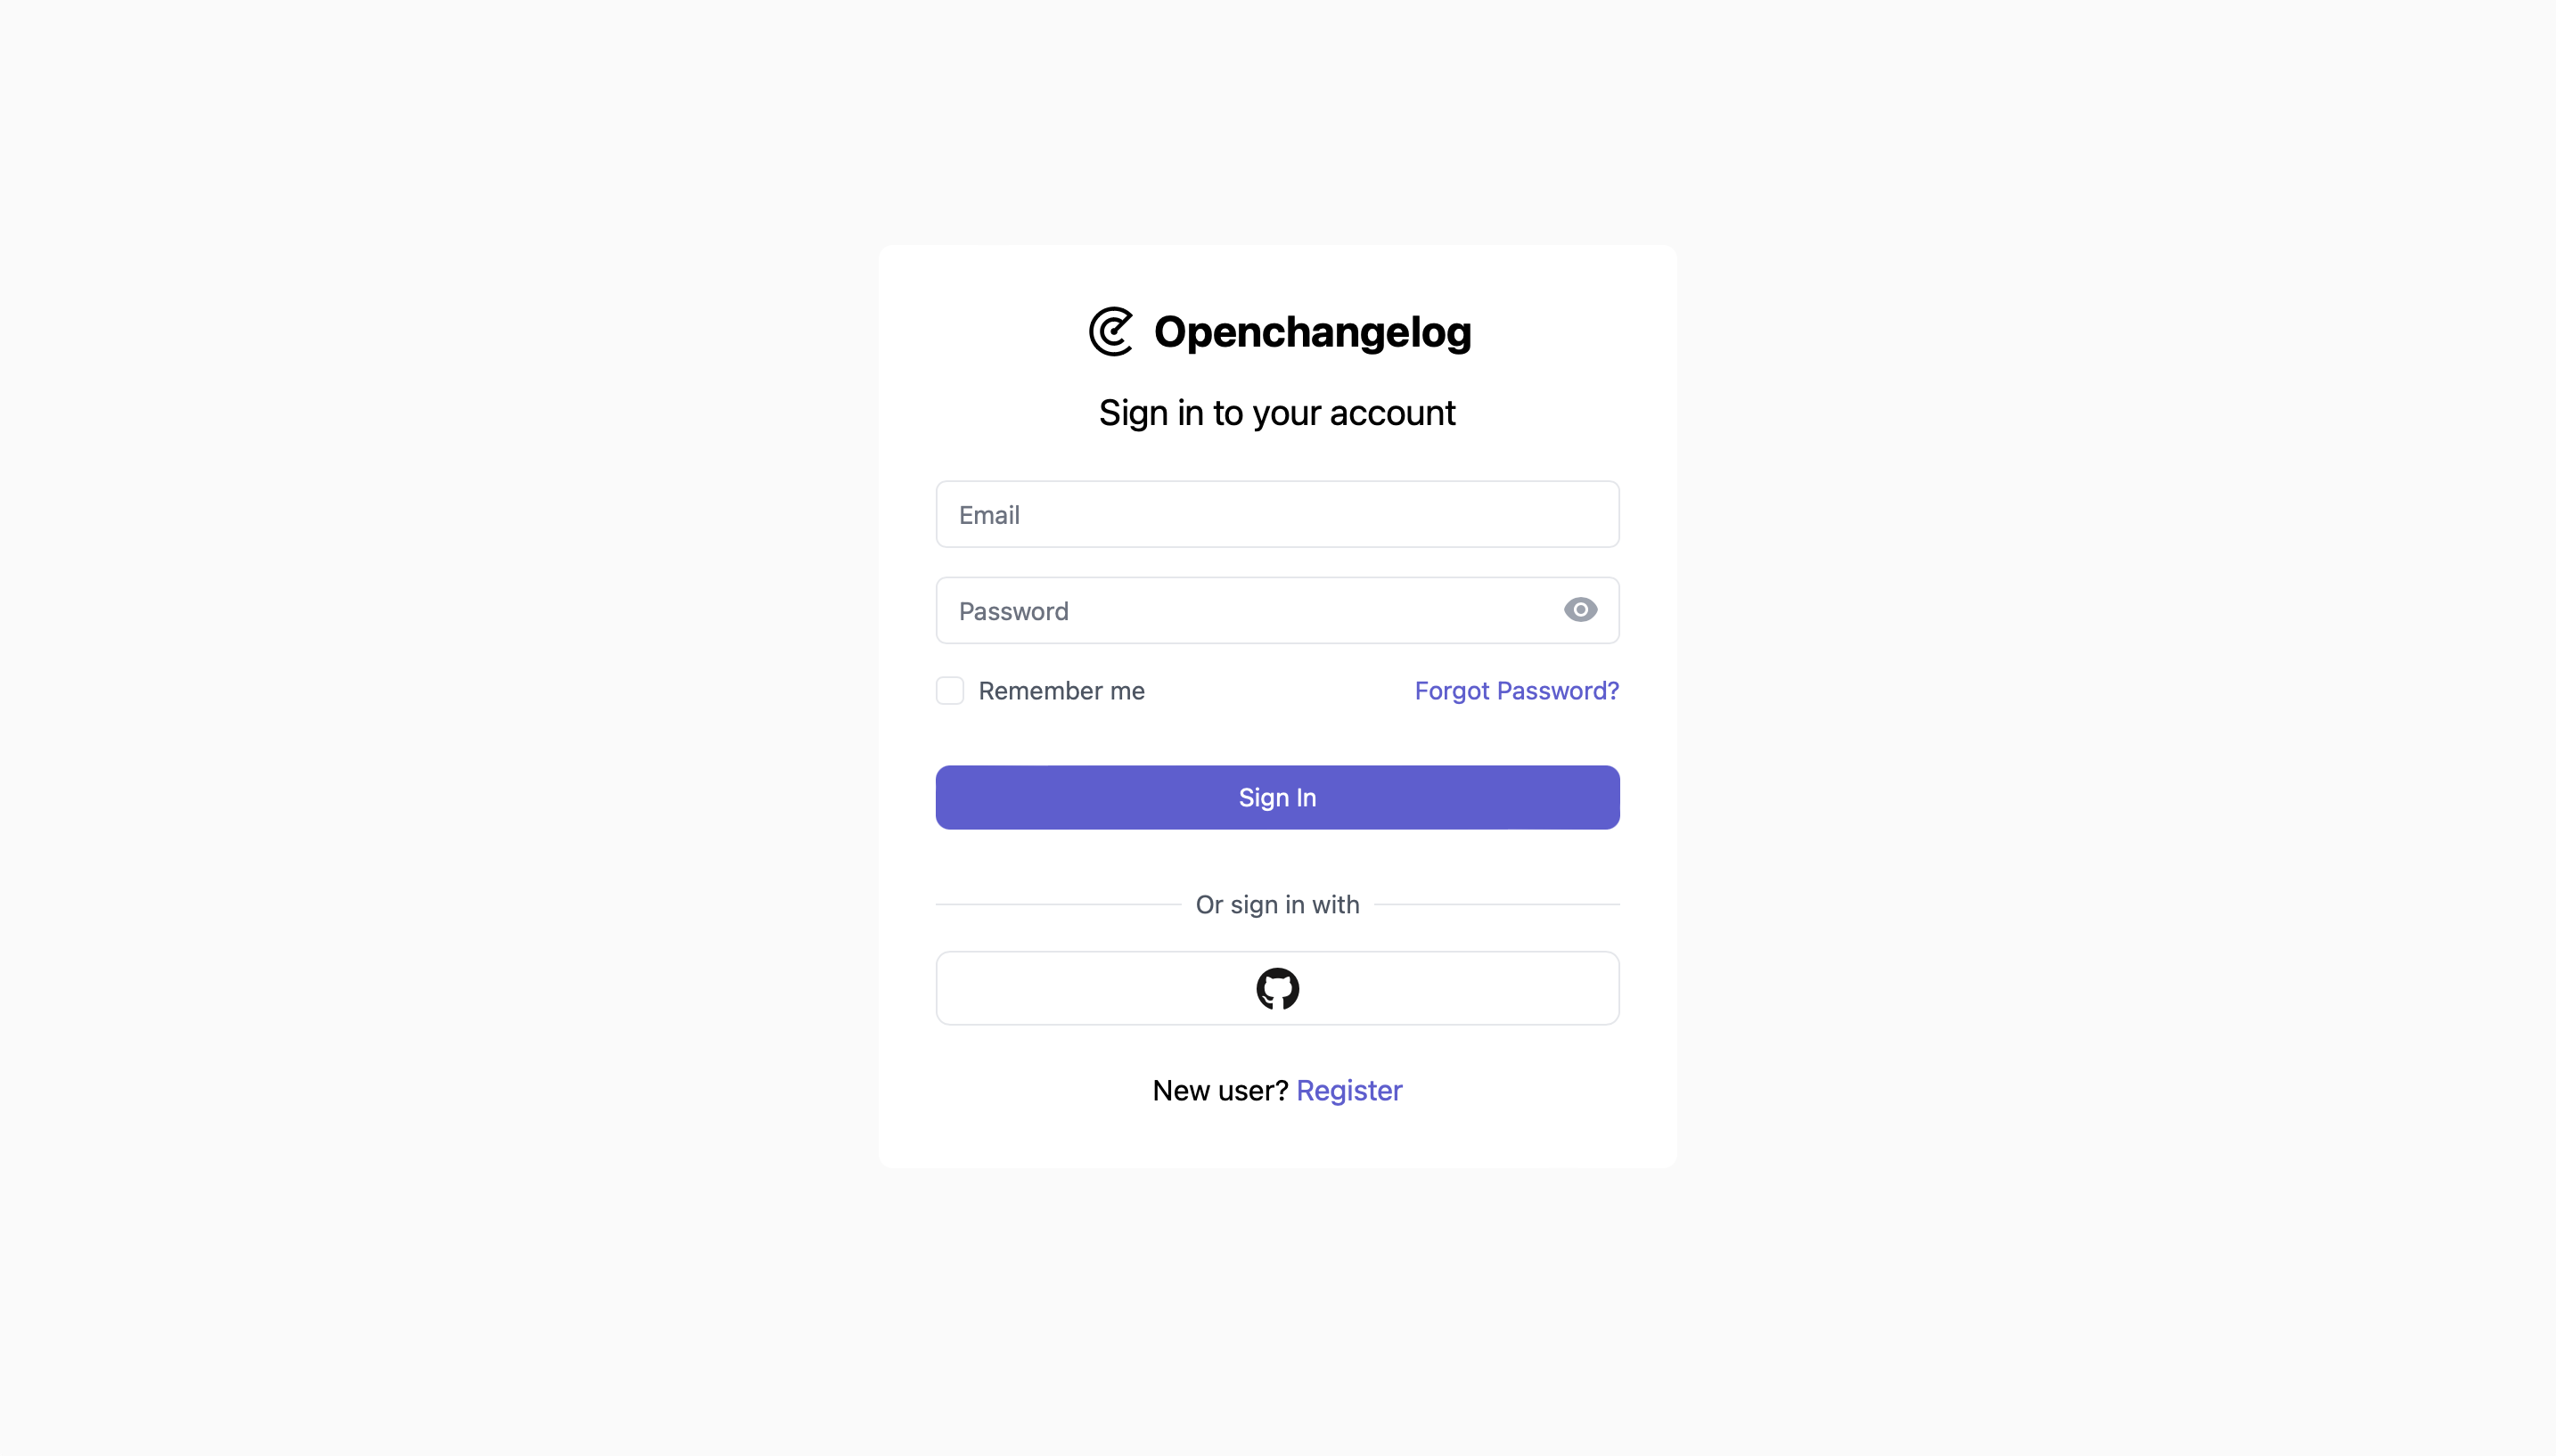
Create your Account
To get started with Openchangelog, you’ll need to create an account at cloud.openchangelog.com or by clicking the Dashboard button in the top right of your screen.
If you plan to use our GitHub source, we recommend signing in directly with GitHub, though you can always connect your account later.
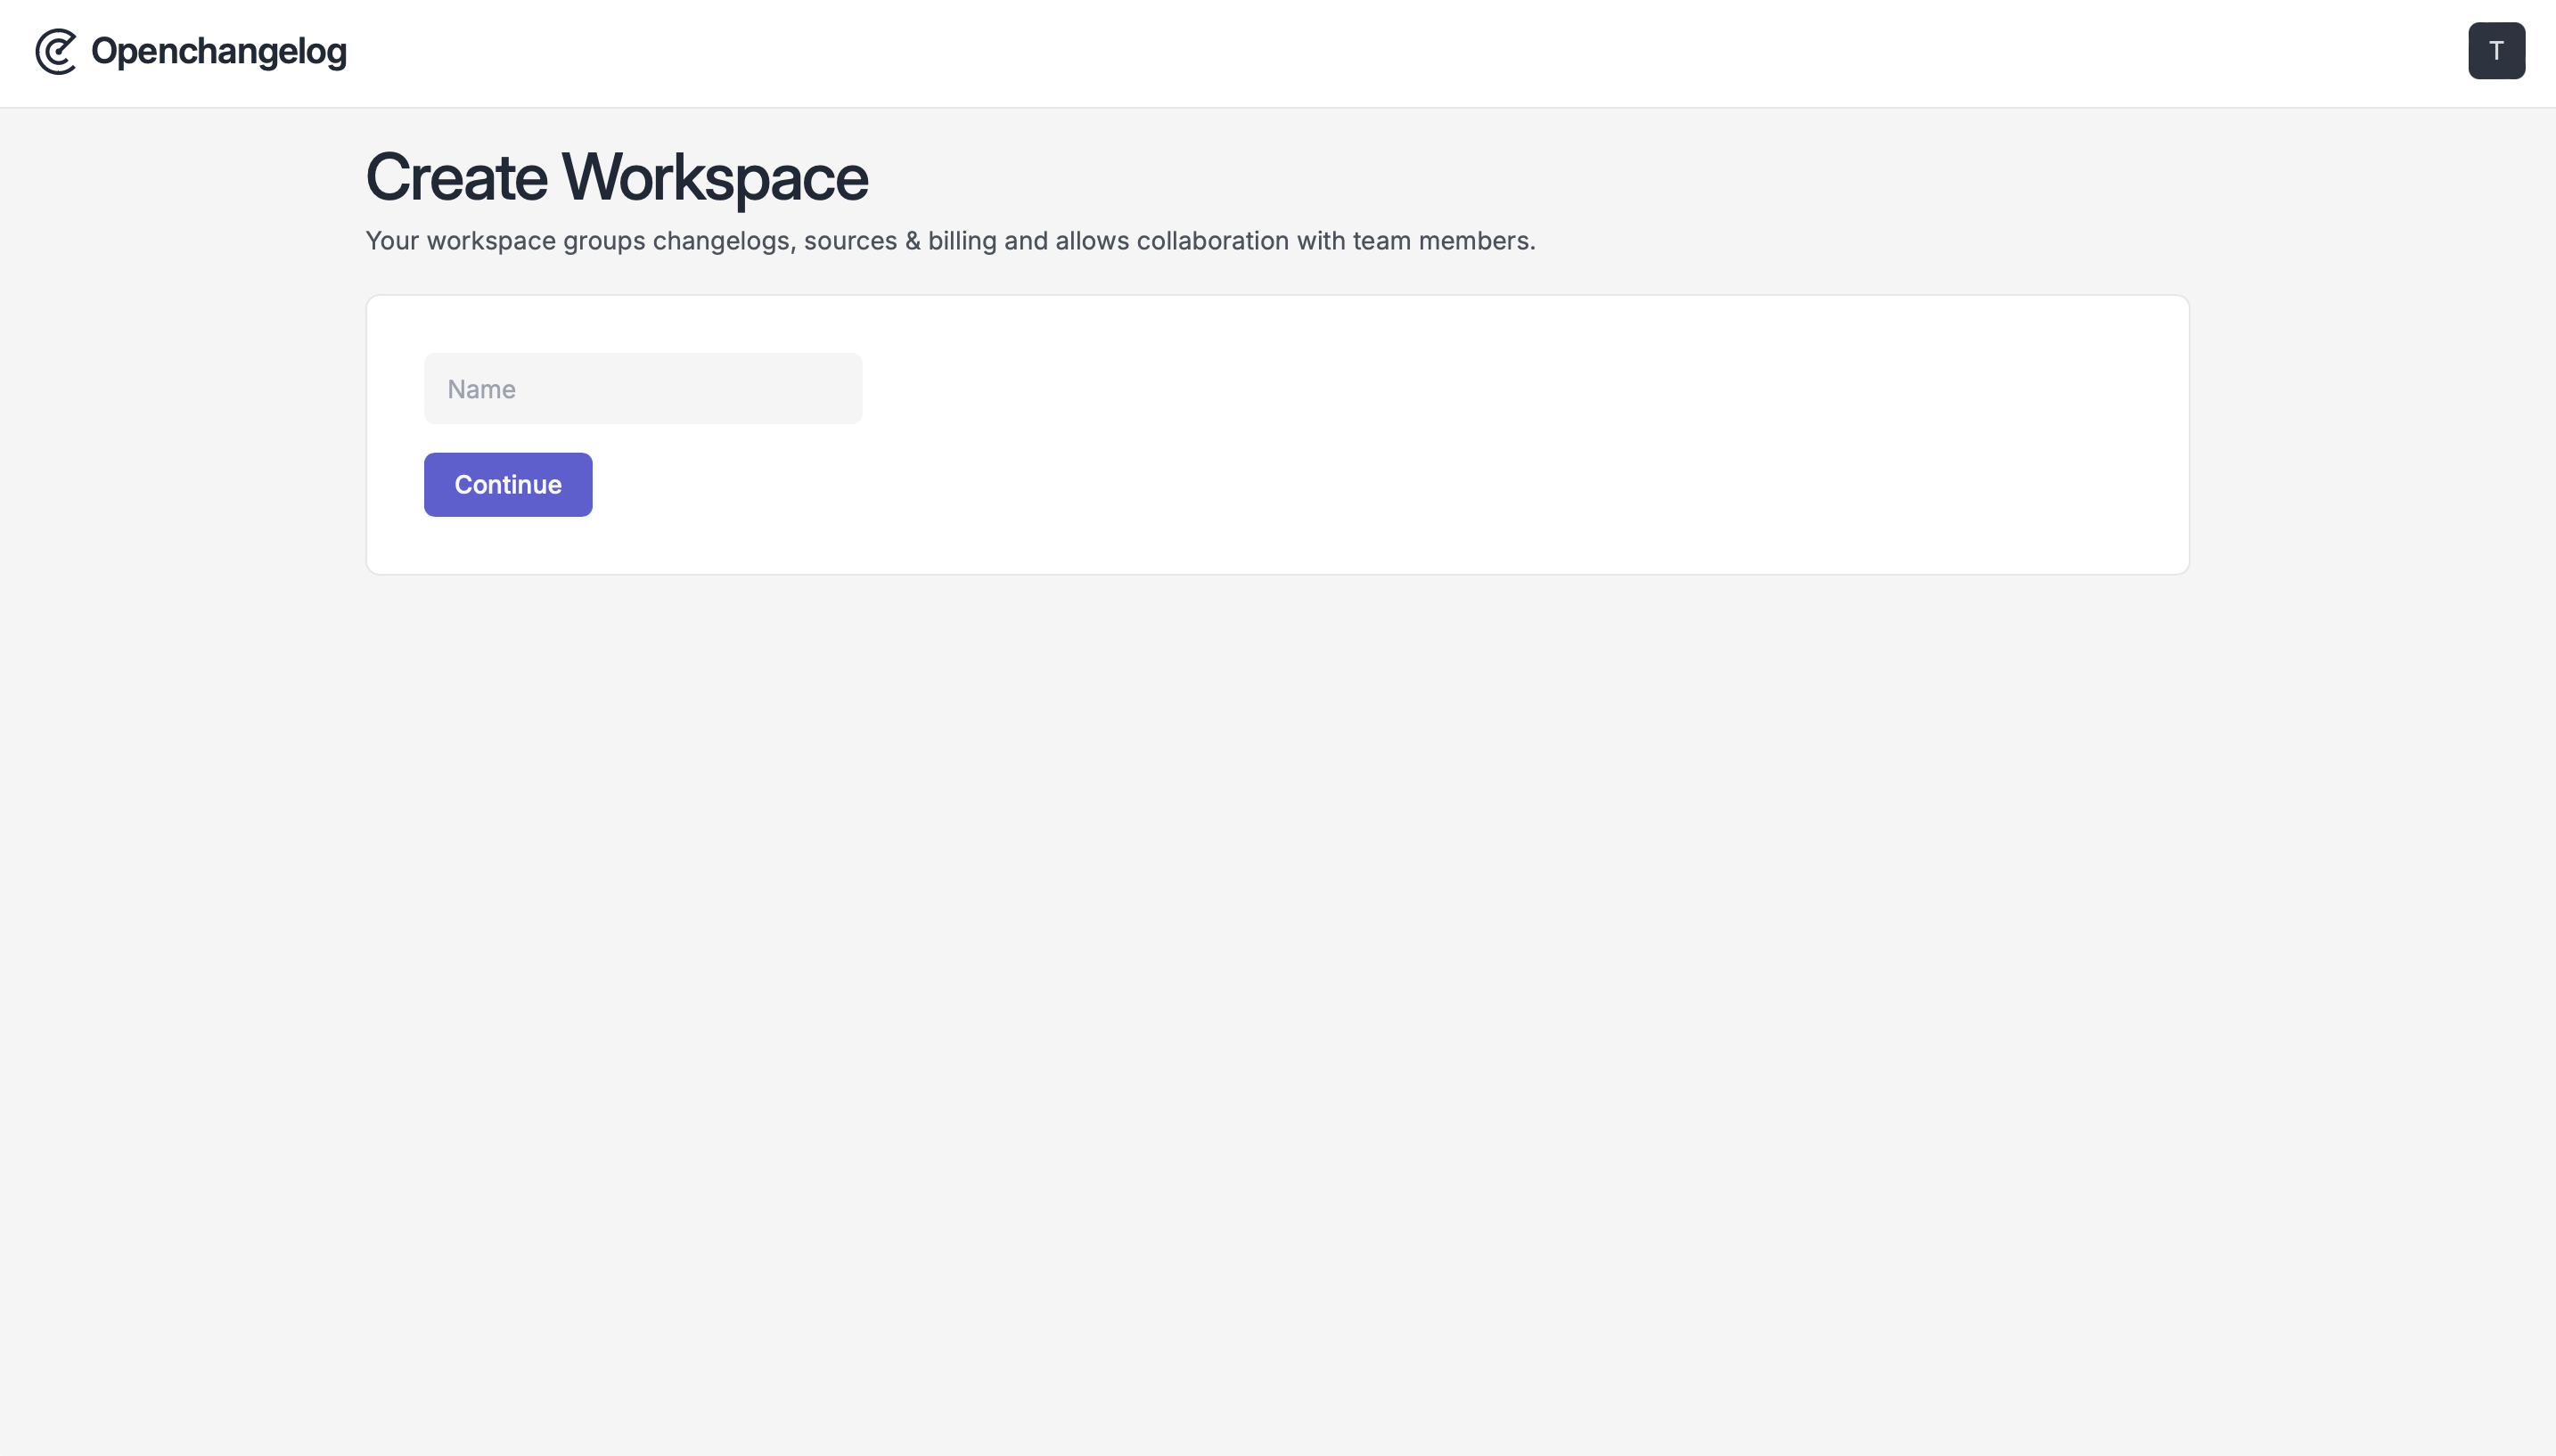
Create a Workspace
After signing up, you’ll be prompted to create a workspace, which serves as a central hub for organizing your changelogs, sources, and billing information.
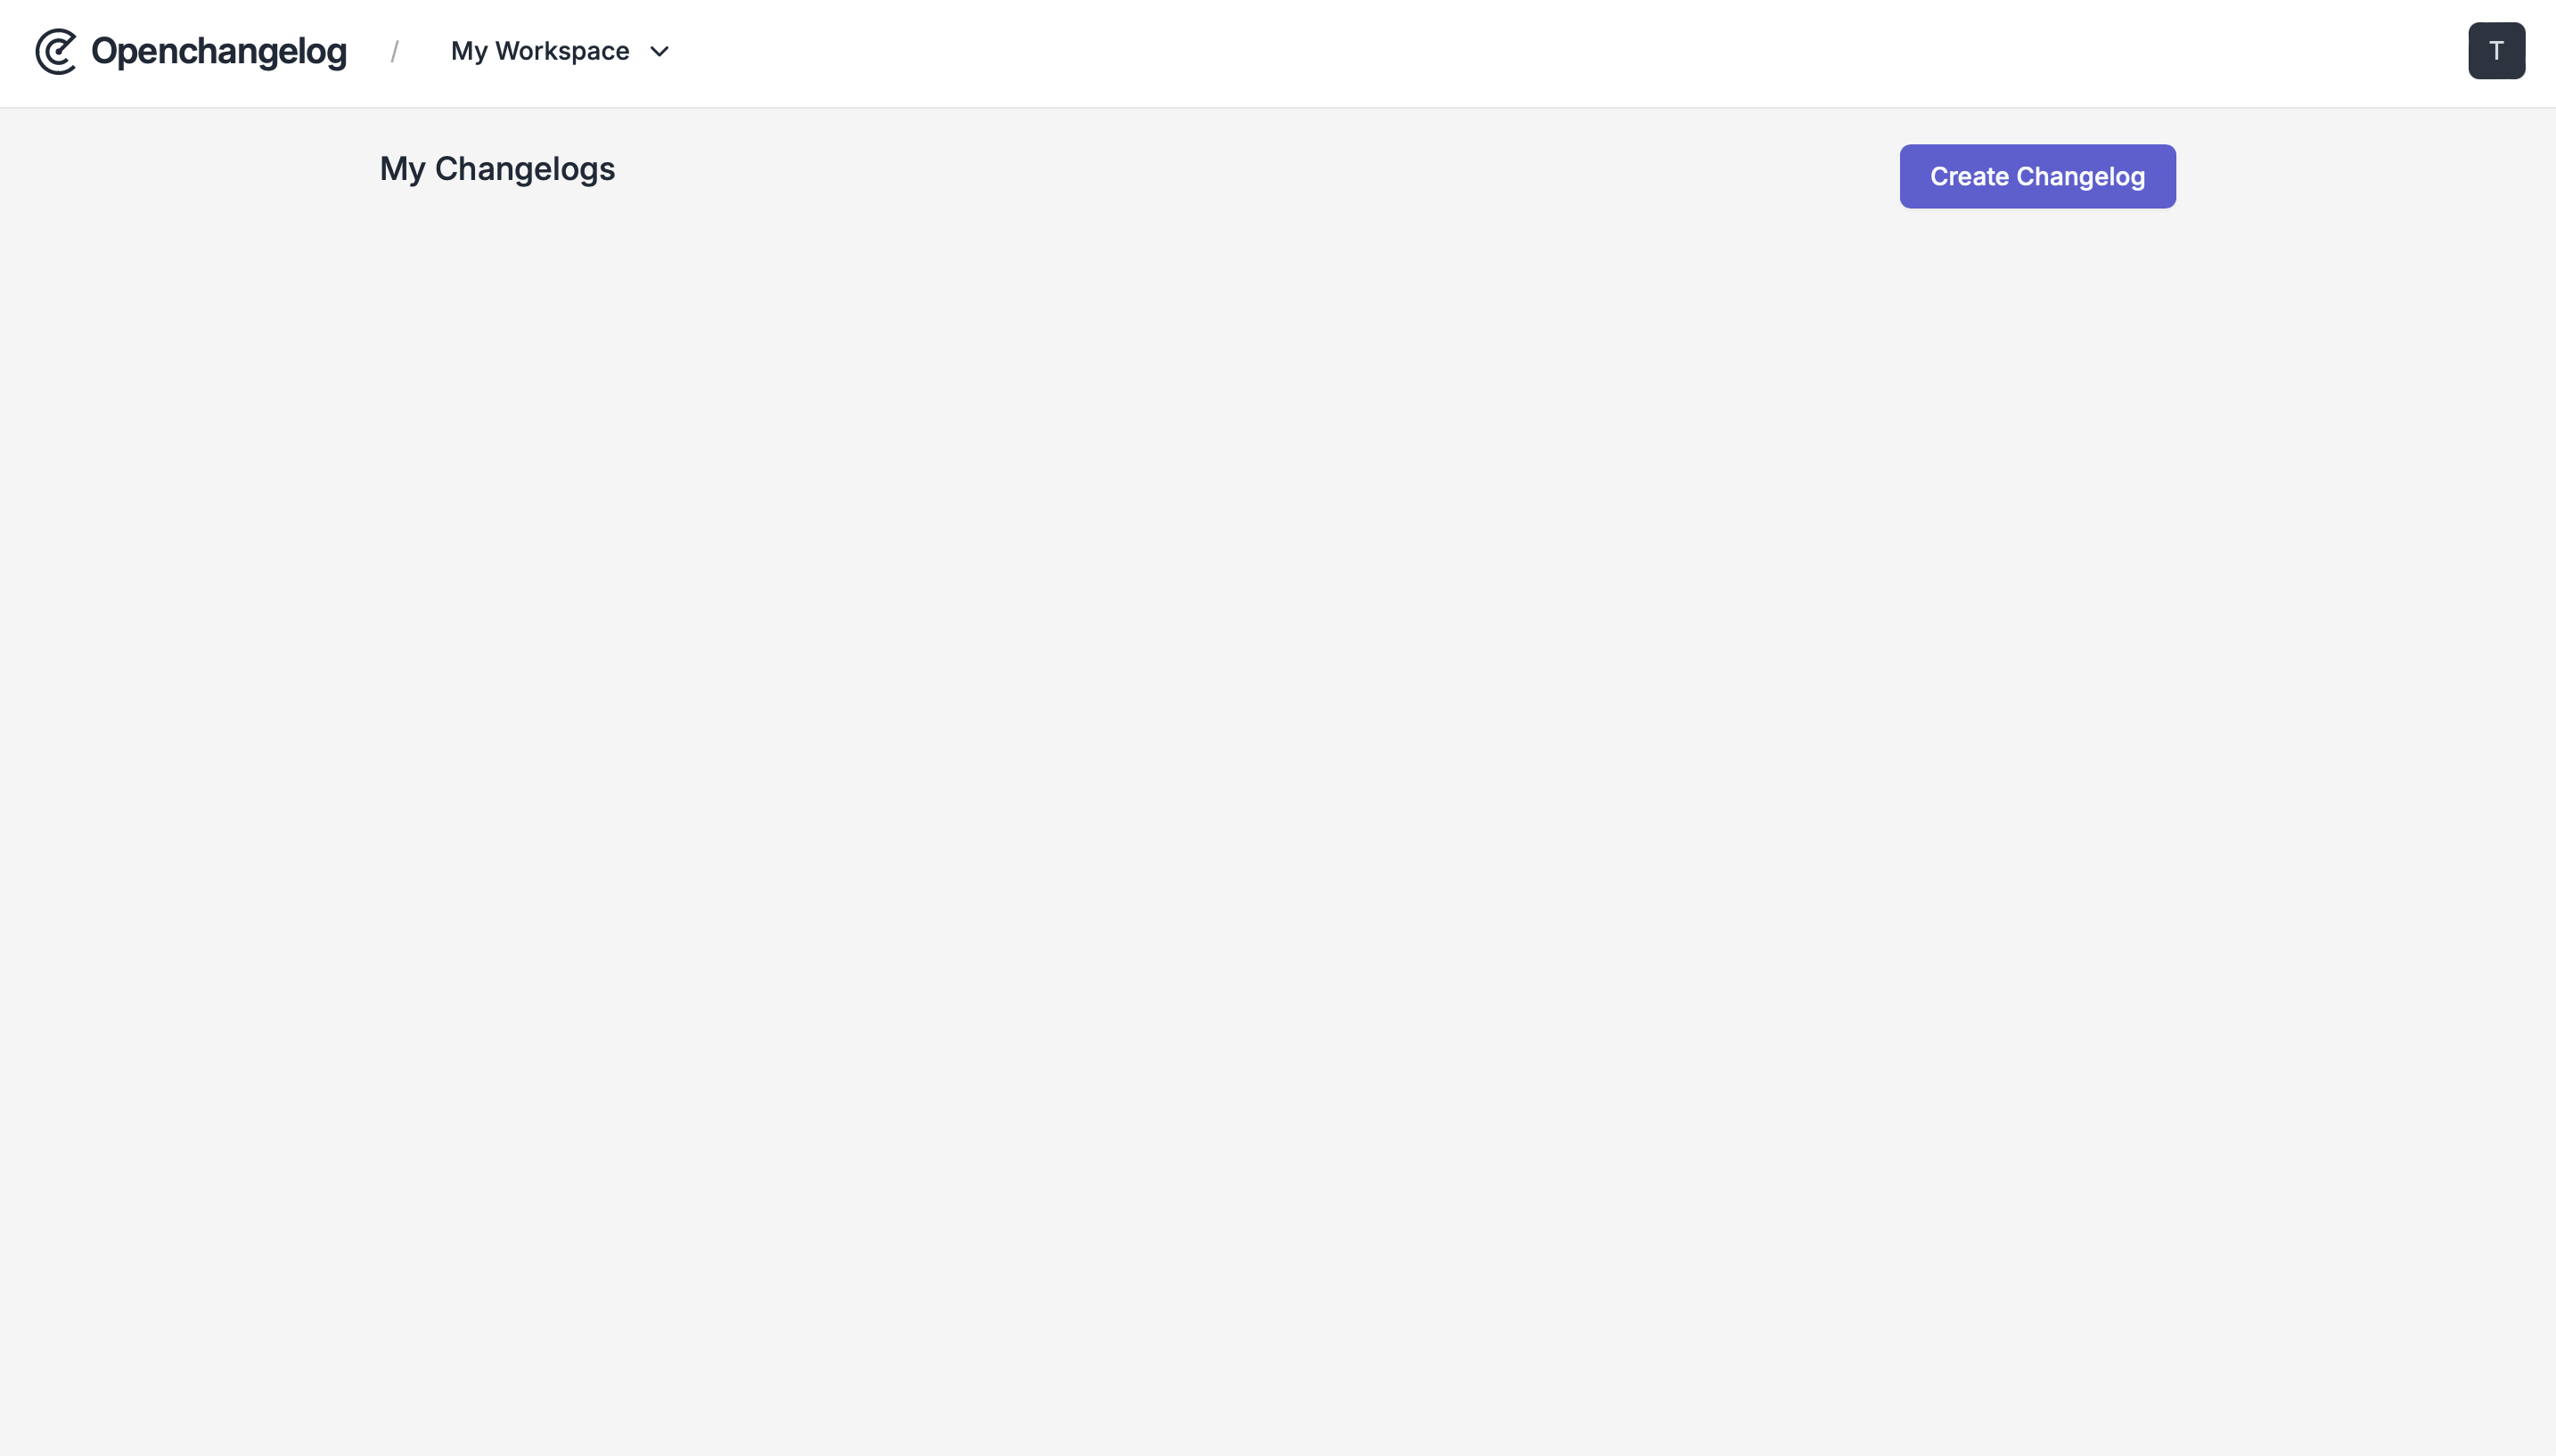
Create your first Changelog
Once your workspace is set up, you’ll be redirected to the changelogs page, which will be empty initially. Let’s fix this! Just click on the “Create Changelog” button.
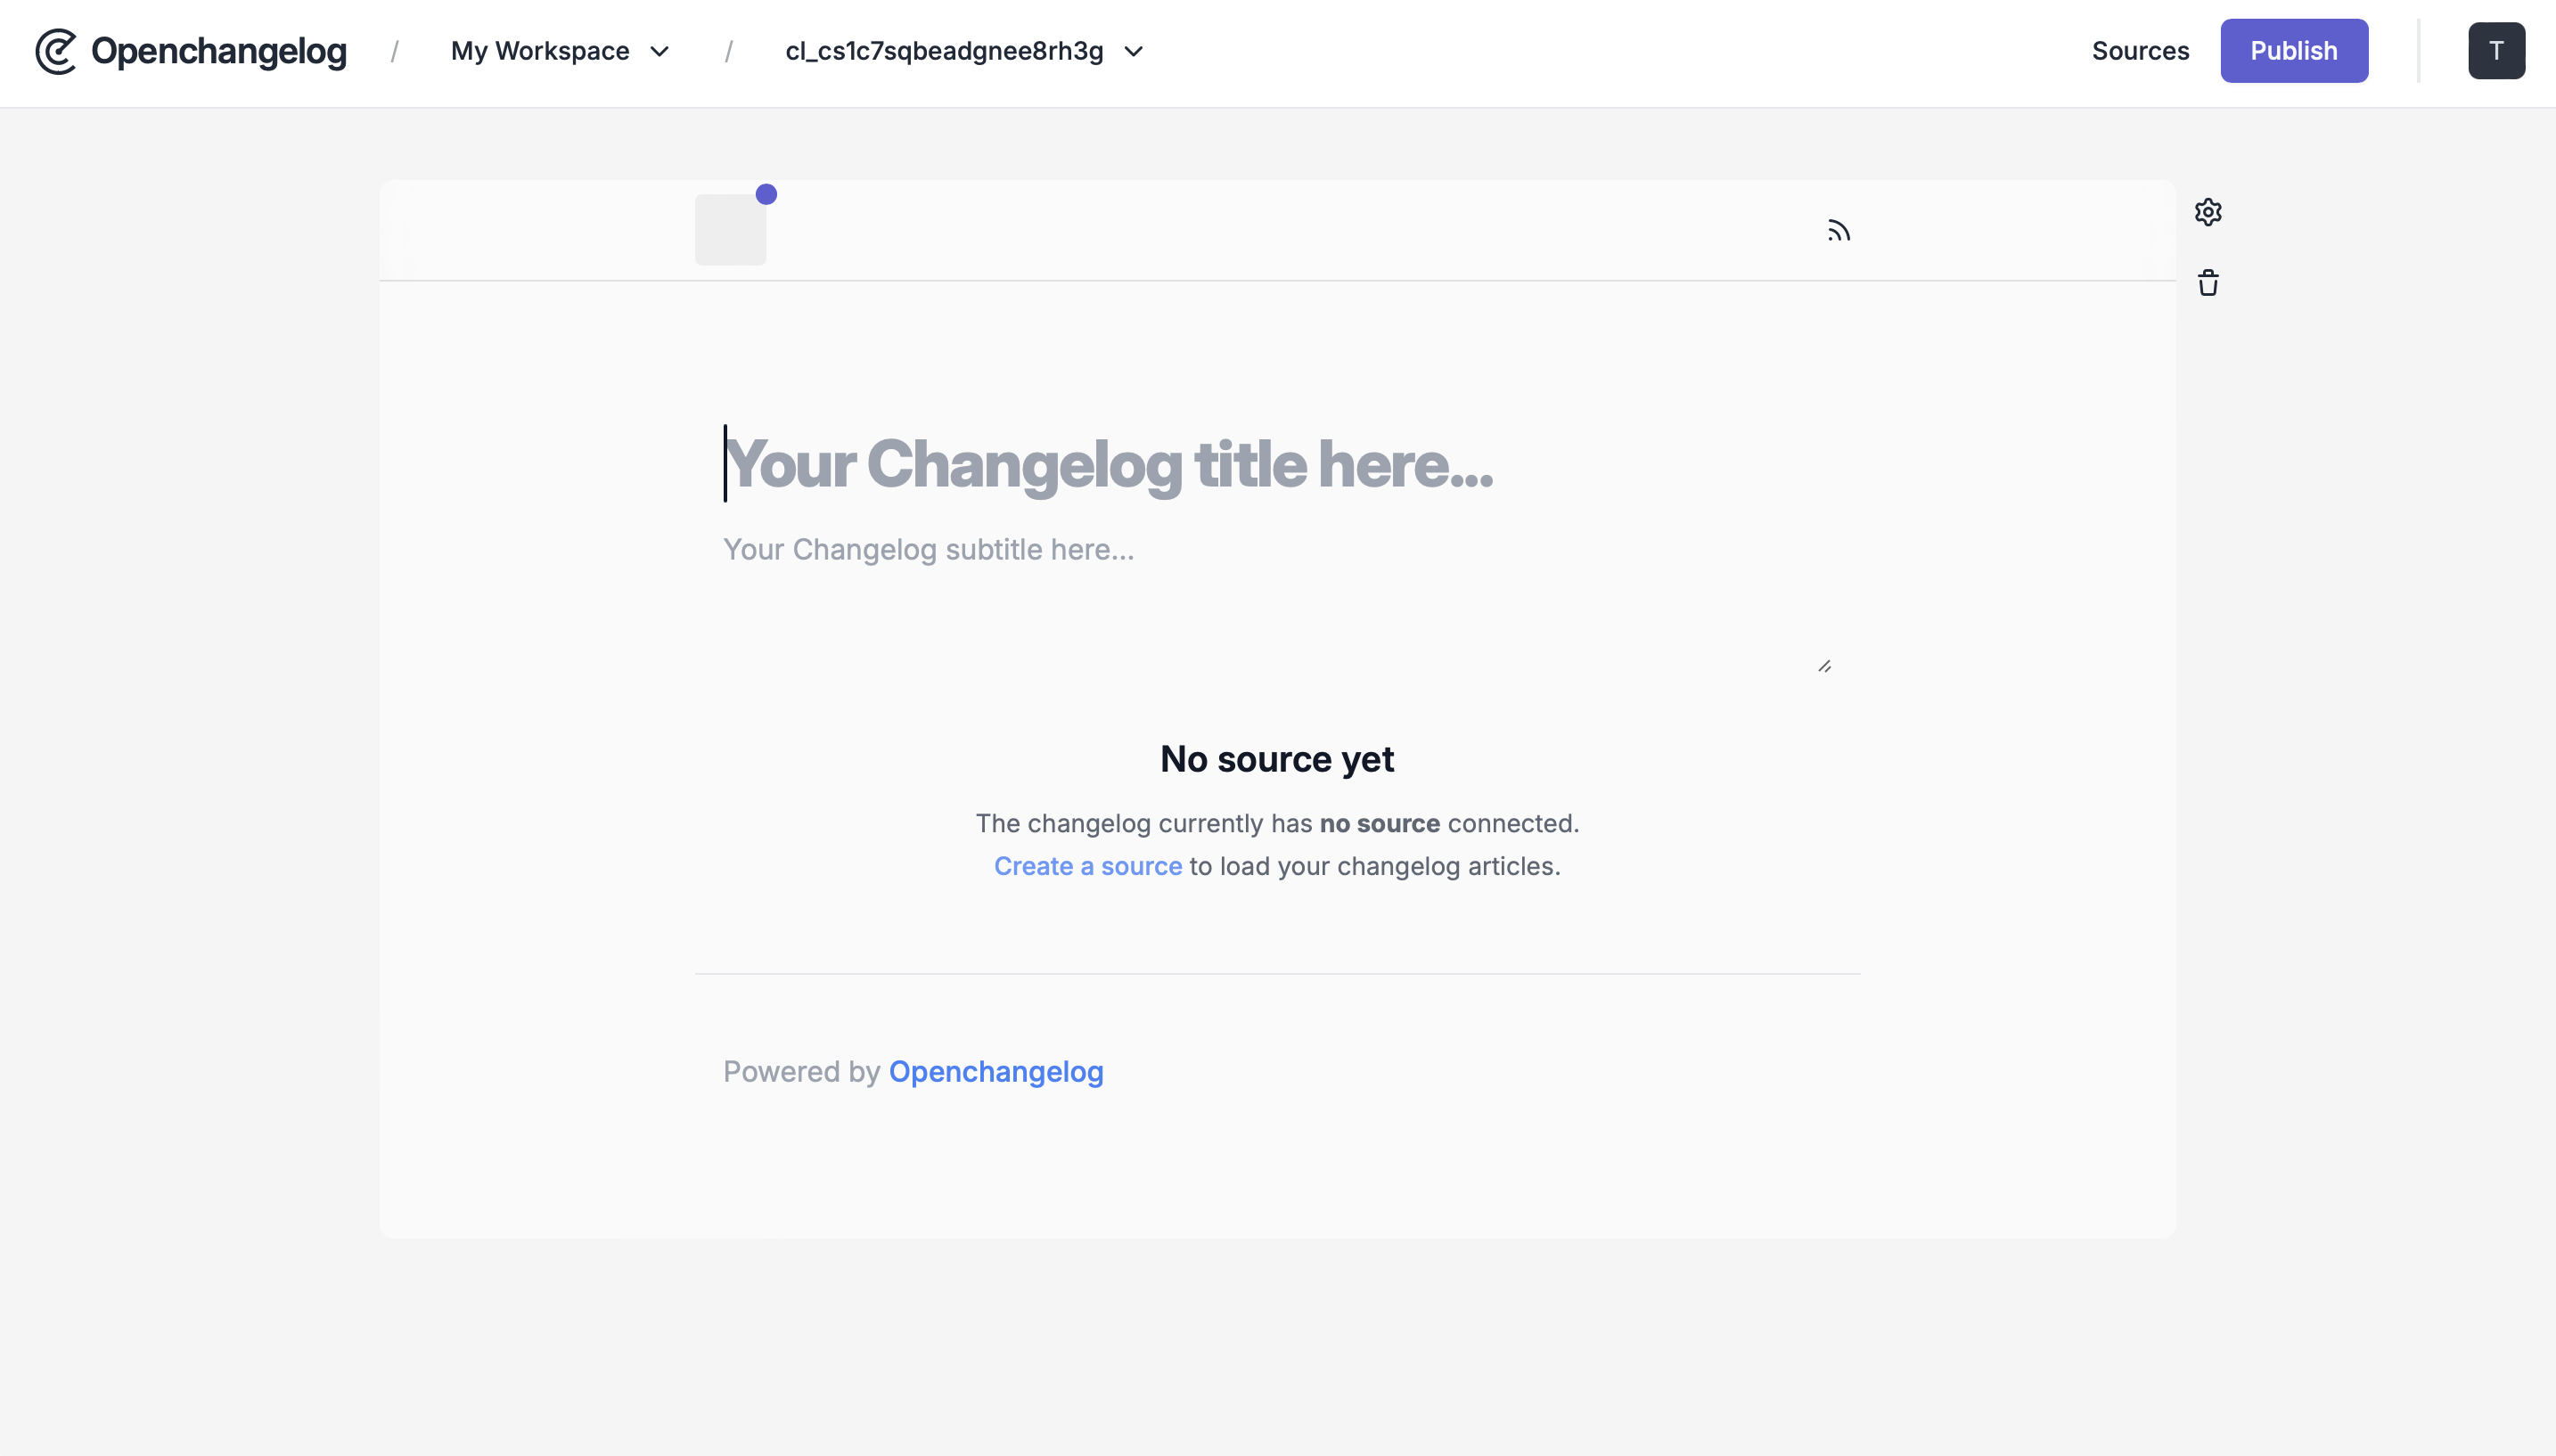
Customize your Changelog
In the changelog editor, you can customize your changelog by adjusting the title, subtitle, logo, and theme to fit your brand.
Remember to click the “Publish” button to save your customizations.
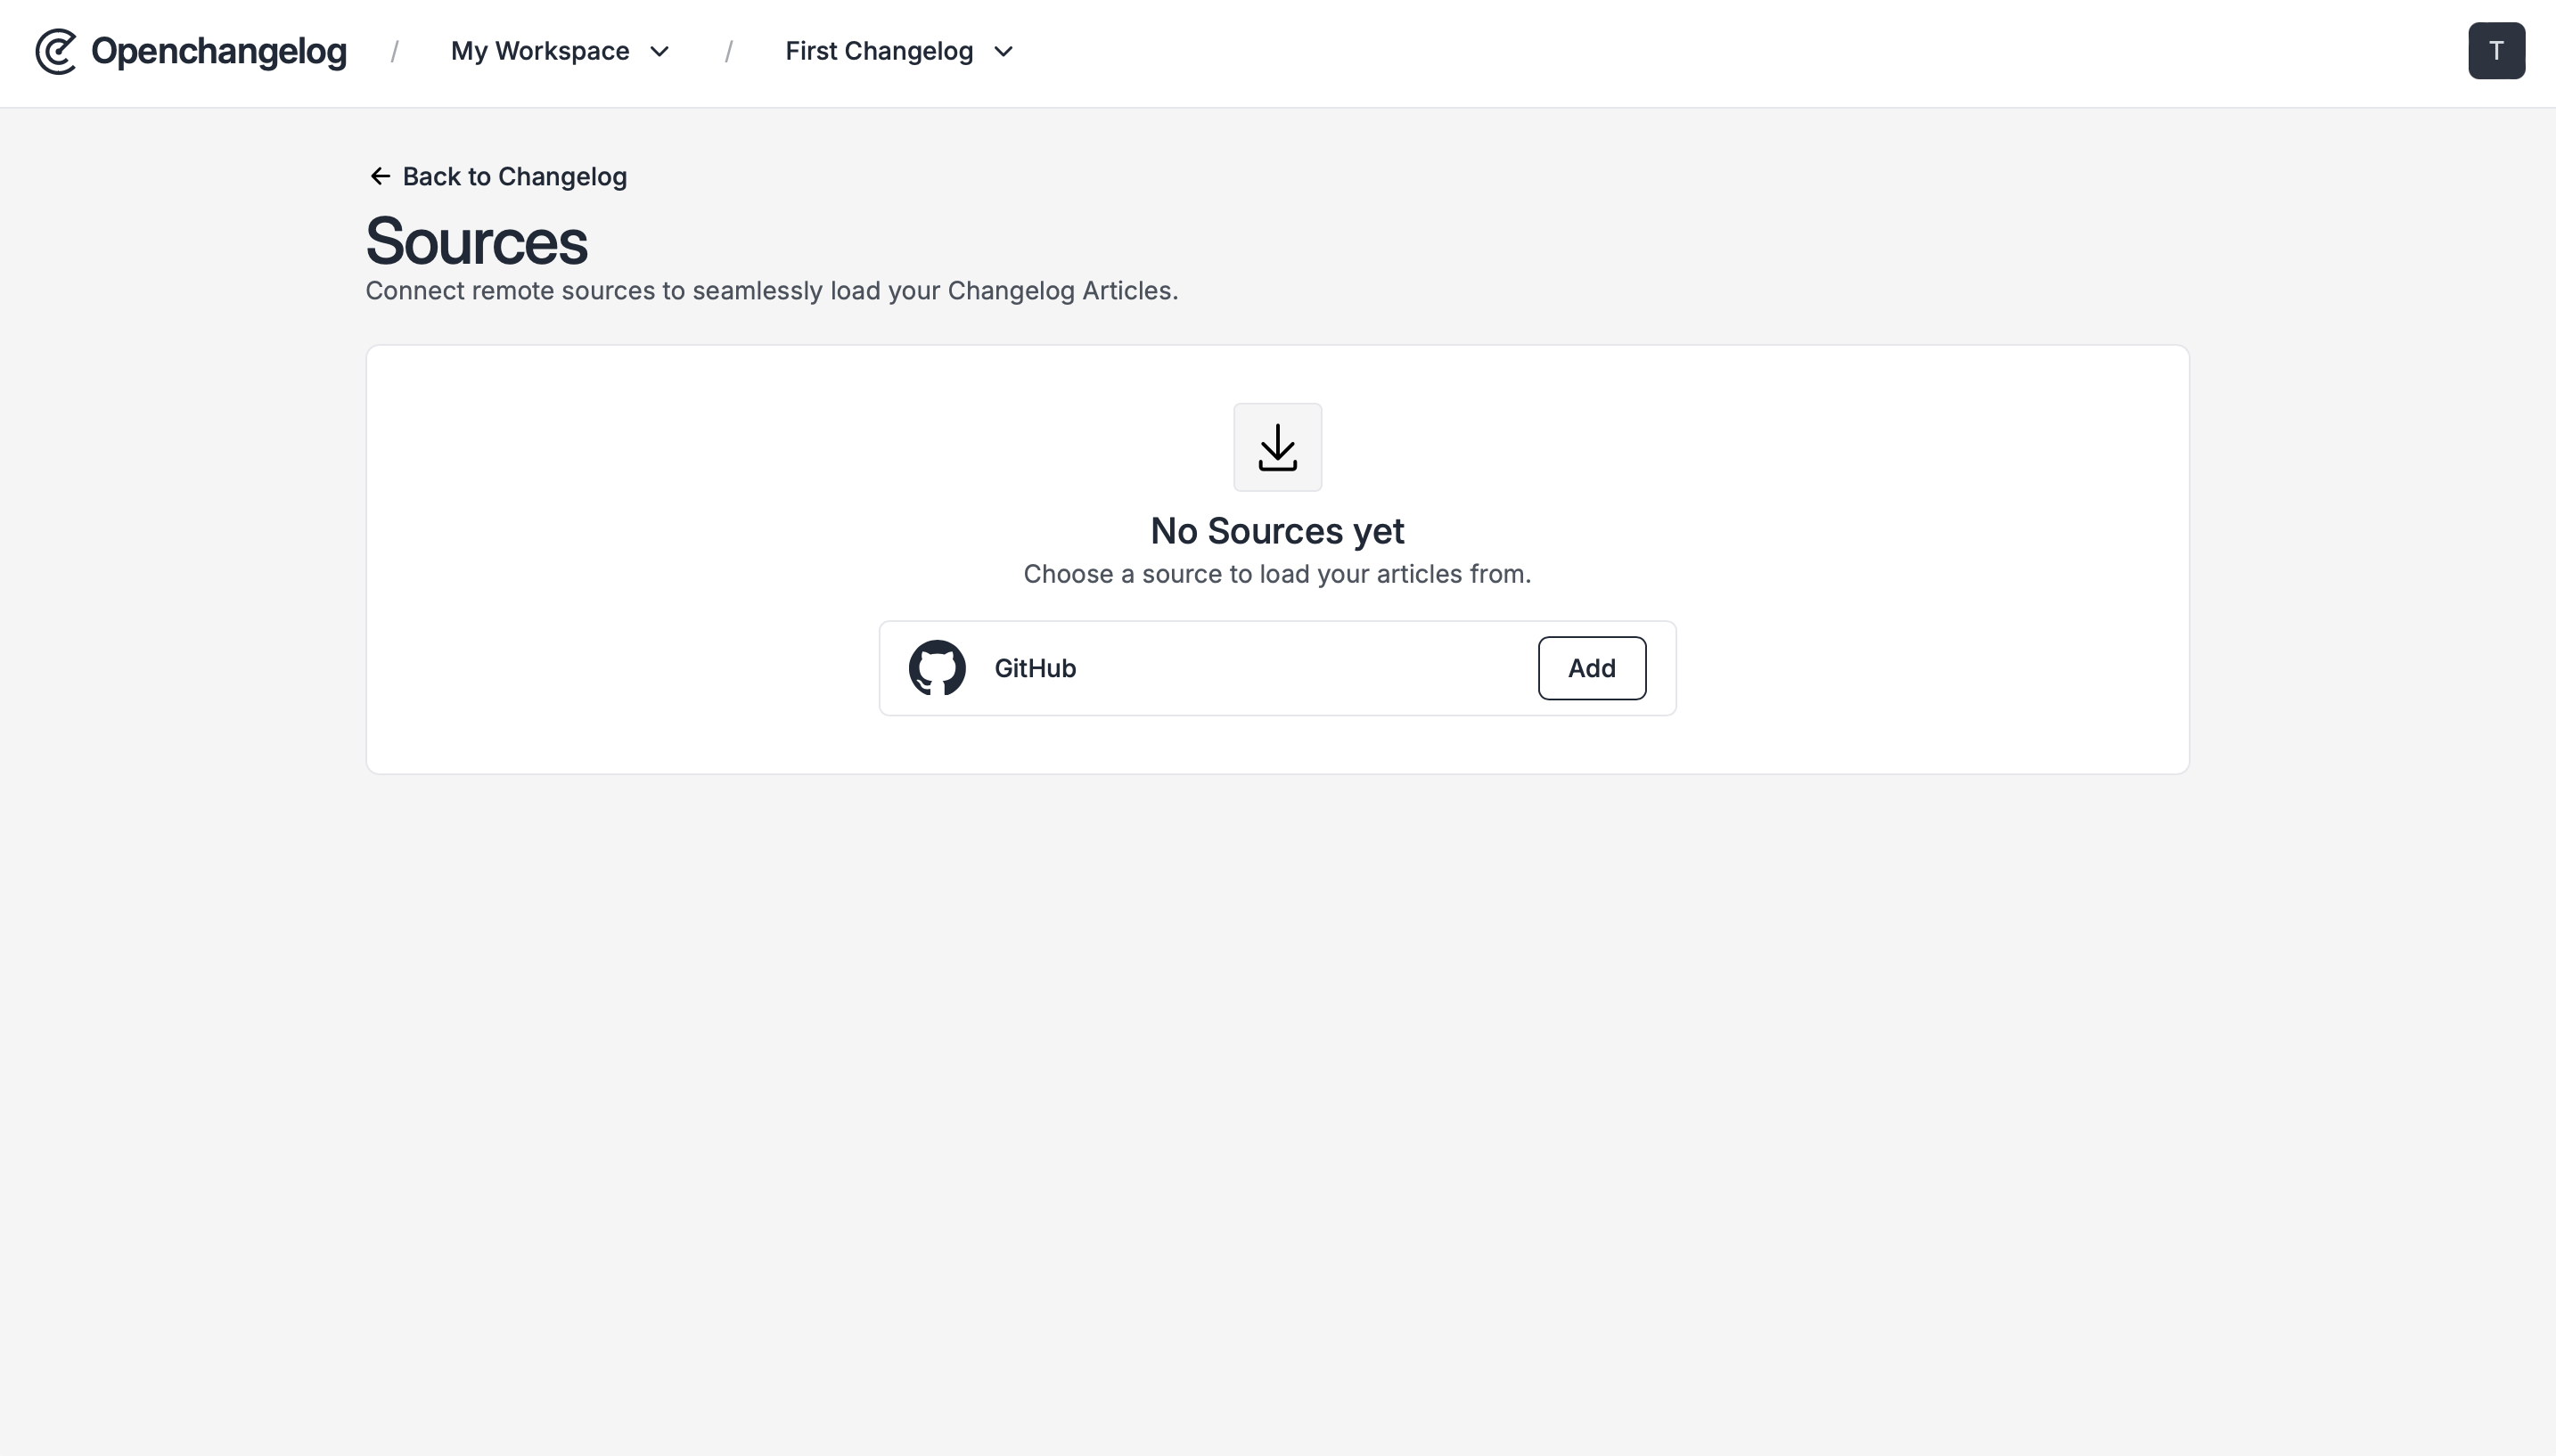
Connect a Source
The next step is to click the “Create a source” button in the center of your screen. Sources are essential for populating your changelog with articles, you can explore our Using Sources guide to find the option that best suits your needs.
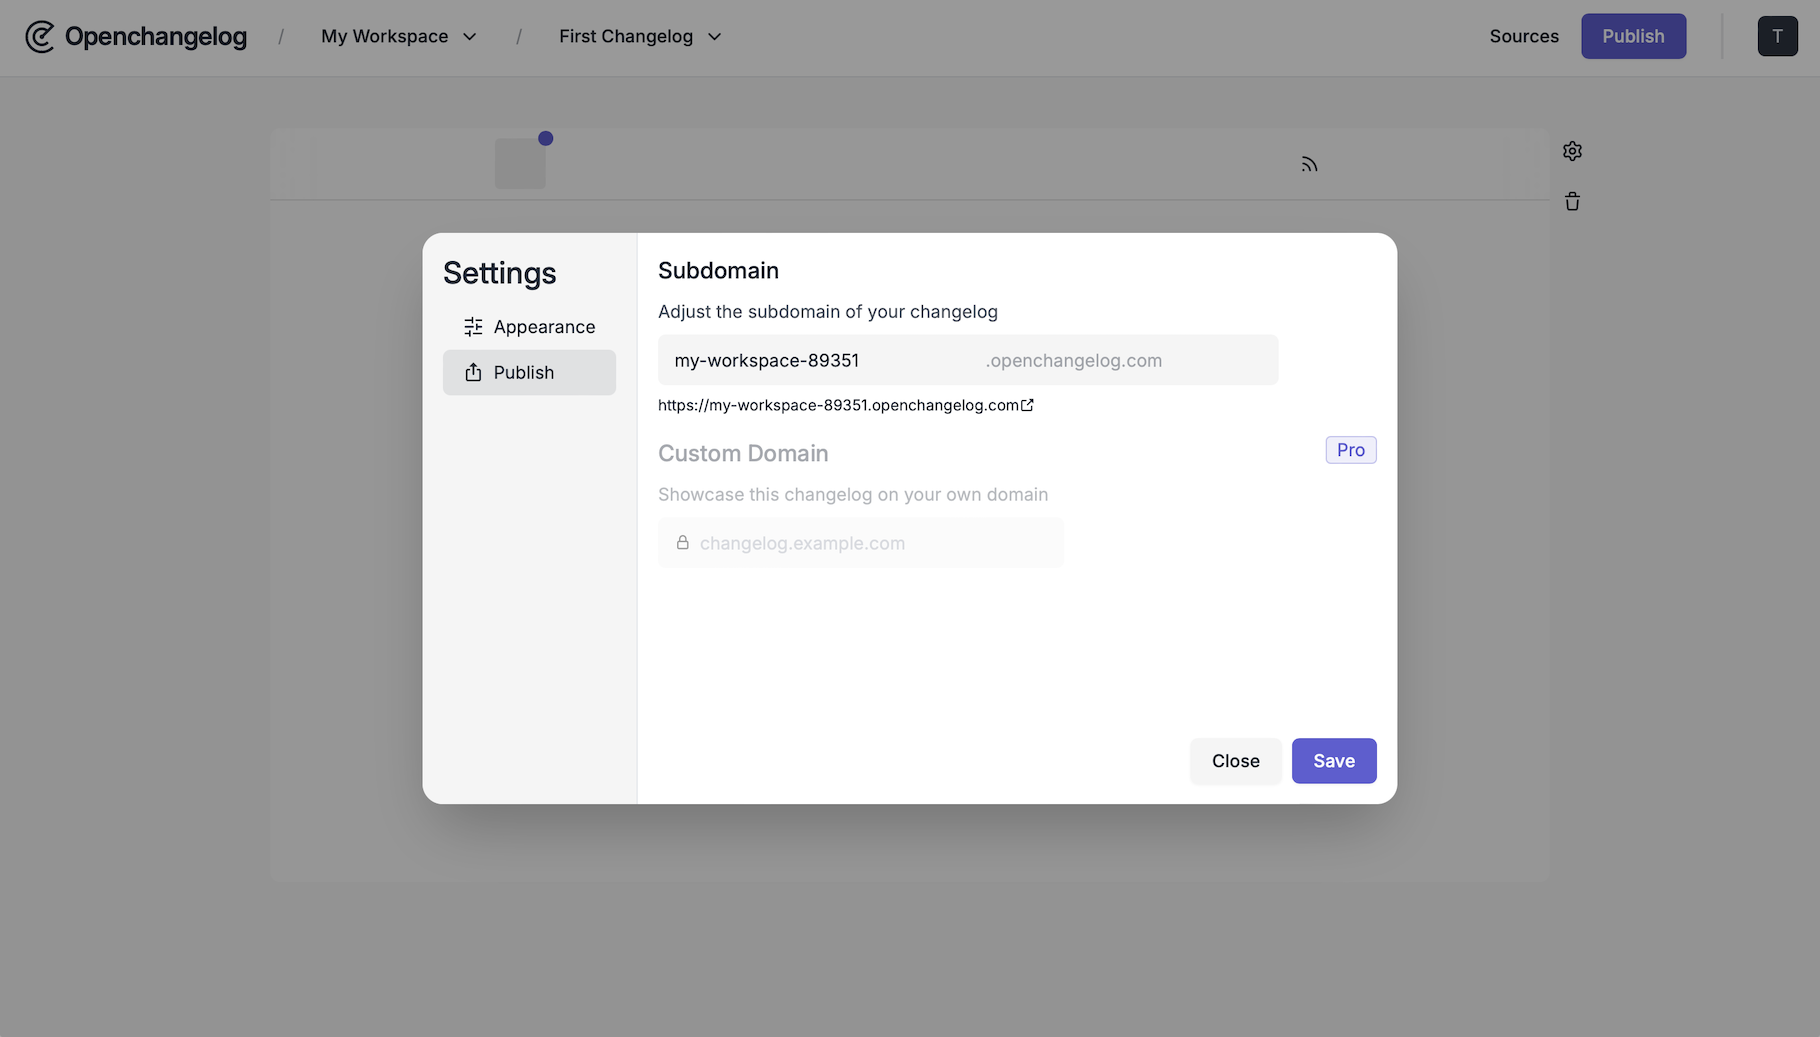
Publish Changelog
With your source connected, you’re ready to share your changelog with the world. You can use our complimentary subdomain to publish immediately, or if you’re on the pro plan, you have the option to publish to a custom domain.